Cook: Sourdough, Gluten Free. A far cry from Bath and Sally Lunn’s Buns
Sourdough. Bread. This is a book in itself.
We went to Bath on the weekend. Sally Lunn’s is a Bath institution and her buns do not escape Florence White’s attention. They are eggy, creamy, and contain small beer yeast as their raising agent. They sound more like giant English Muffins than bread or cake.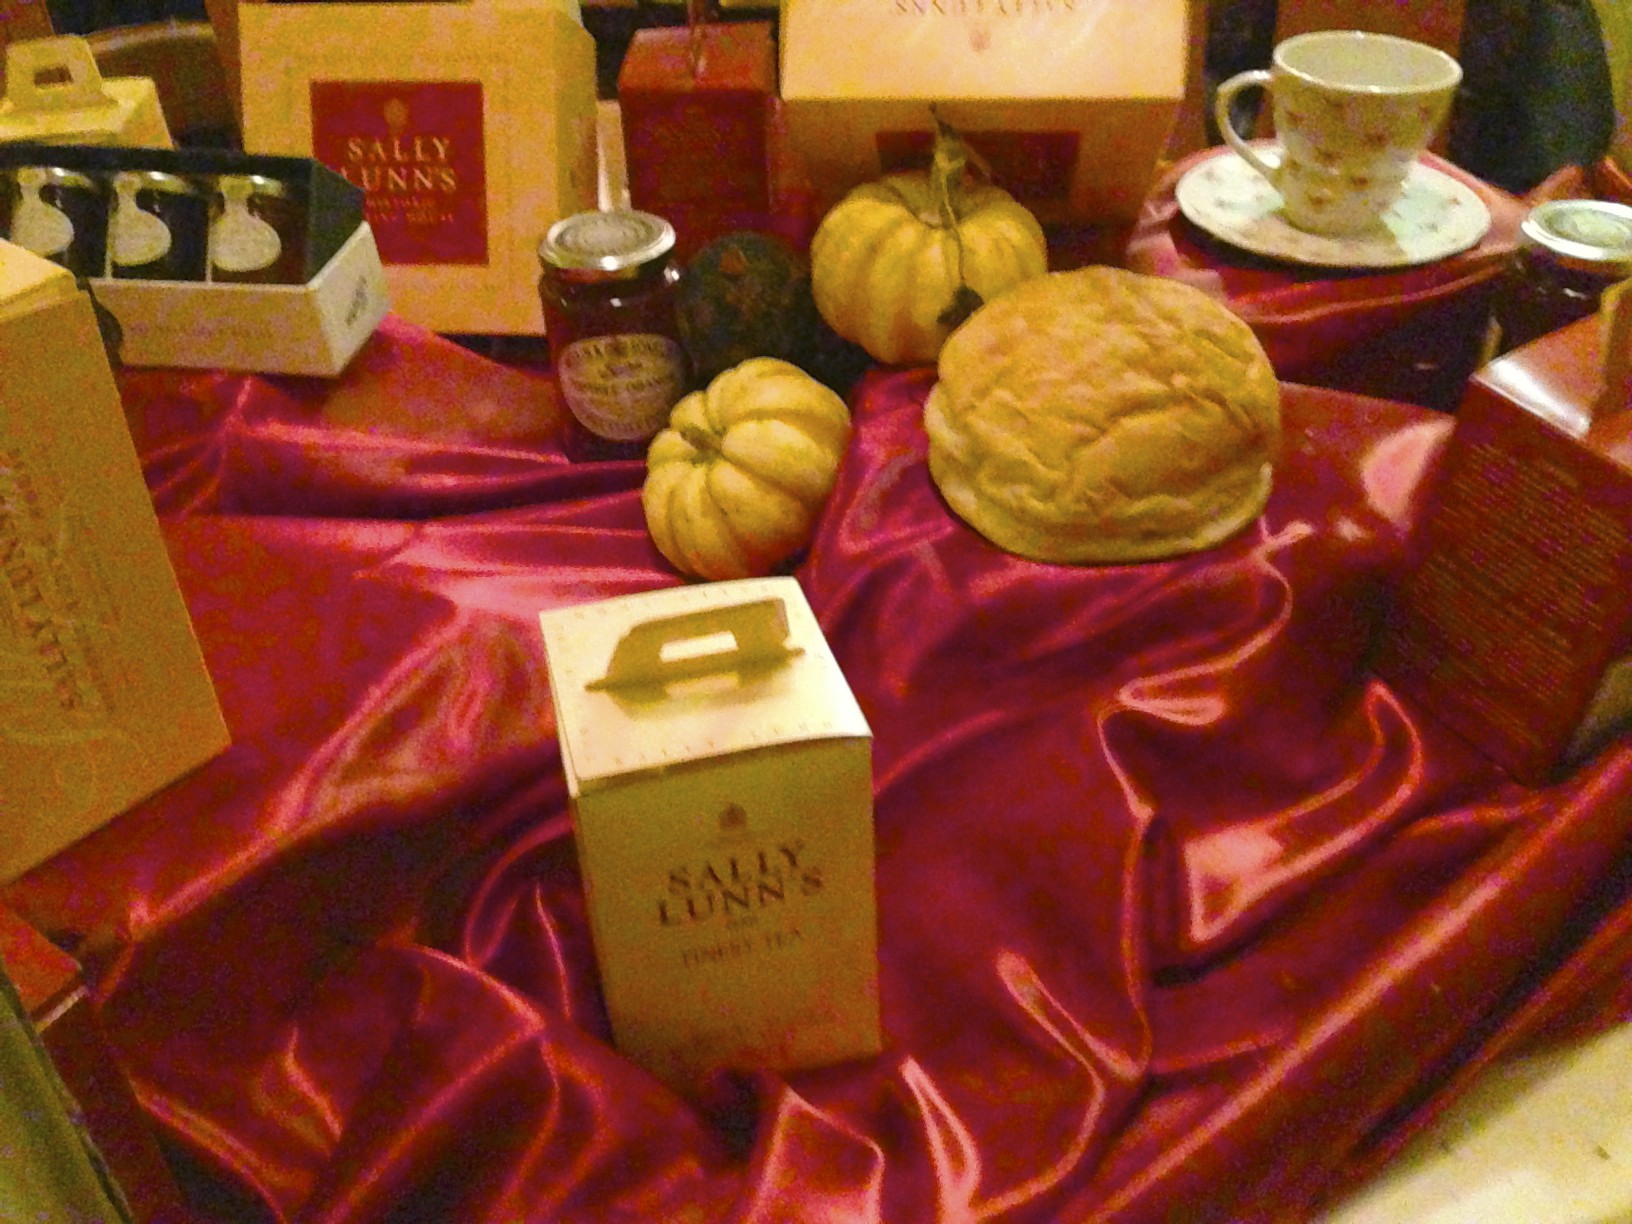
“A pikelet, I believe,” writes Mr Dupuis Brown in 1931, in Good Things In England, “is only the Yorkshire term for ‘crumpet.’ “
This under a header that reads “How to Serve Muffins”. So muffins, crumpets, pikelets. The same. Of old, they were brewers-yeast raised, pan cooked or baked, then never ever cut with a knife, but rather scored around the middle, broken into two, lathered with butter within, then put back under the heat for the butter to melt and spread – meaning that the inside never touched a knife (which would flatten its lovely honeycomb texture) and equally, the inside was never dried by direct toasting.
They do look delicious, but this sourdough will be more nutritious and awfully tasty in its own right. I will try a gluten free Sally Lunn’s Bun one day, but for now, gf sd. A rather longer process I’m afraid.
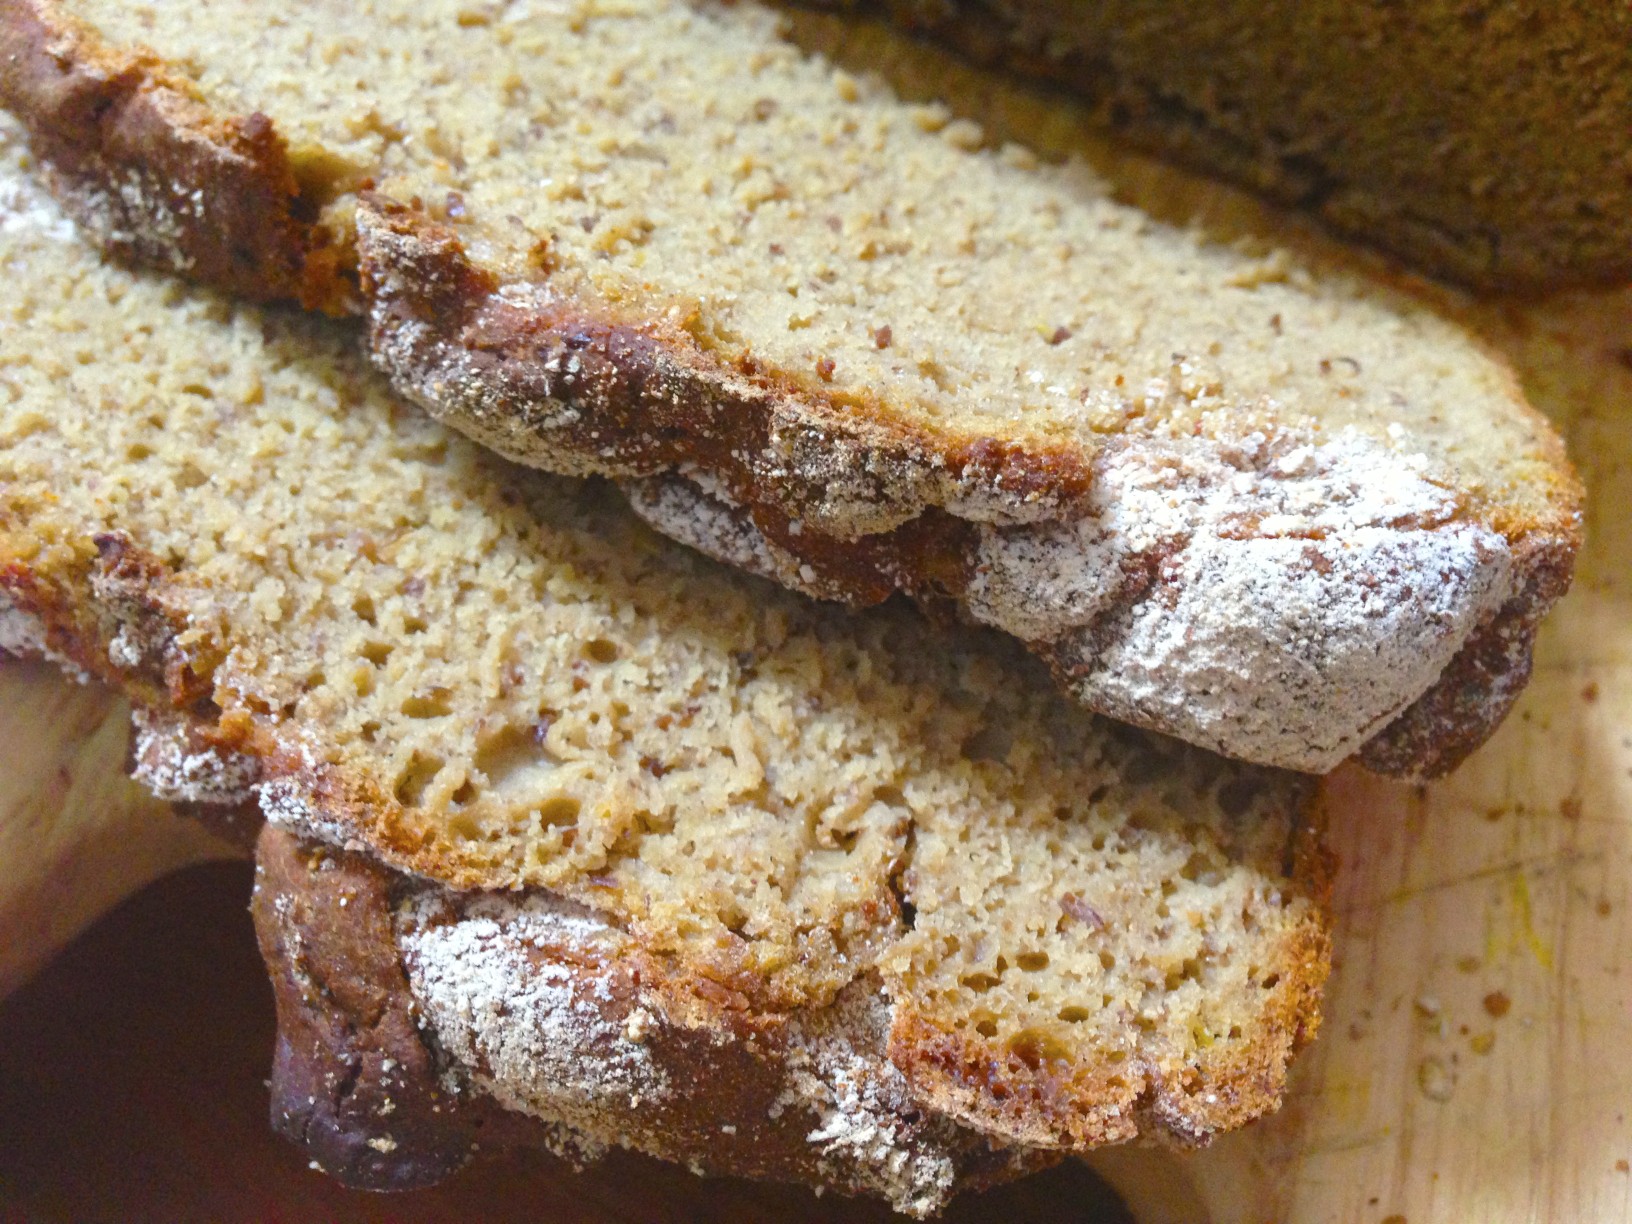
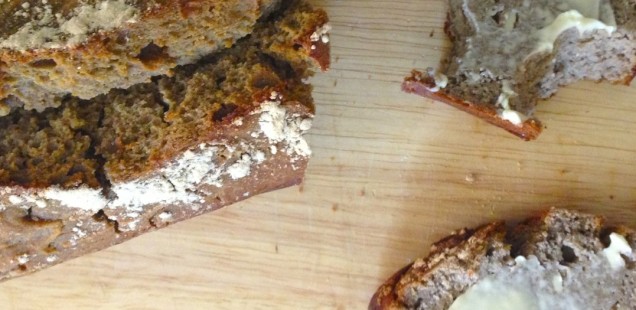
Slices of the finished gluten free sourdough loaf. Here we go!
My life has changed since cooking gluten free sourdough at home.
If only because it has such a strong textural consistency, I can actually make sandwiches – and the toast doesn’t crumble away to nothing in the toaster!
Gluten free sourdough is by far the closest I’ve come to that delicious resistance that ‘real’ bread gives when we bite down and chew a morsel. It’s such a simple pleasure. Yet one I had to farewell when my body put my foot down and said ‘you iz eatin’ no more gluten or you gonna die’. (sorry, that’s the Gone With the Wind die-hard in me clawing its way out – oh, mammy, you fine lady!)
To make my Sourdough Starter a month ago, I followed the precise and wonderful instructions and photos on La Tartine Experiment, as a friend had so heartily recommended La Tartine as a perfect bread baking reference. It did not let me down.
To create my starter, I quite simply replaced his stoneground rye flour with the best quality, organic, stoneground gluten free flours. I put a half cup of a different organic gluten free flour each time I fed my starter (twice daily for a week, then every 24 hours), so that by the end of each week, its a perfect combination of all the flours I love to cook with (but none of them on their own please).
- buckwheat flour is my go to gluten free flour.
- quinoa flour cooks into a good consistency but has quite a particular aroma which can be overpowering
- chickpea flour makes a great, light, tasty bake, but has a bitter aftertaste on its own (I always add a tsp maple syrup, honey or molasses per cup of chickpea flour to every recipe)
- brown rice flour
- amaranth flour
- teff flour – wonderful, light, wholegrain, a brilliant flour.
- lupin – I use sparingly. it’s flavour is strong and on its own too much.
Once I had a starter that was strong enough to rise the bread, this is what I did. By the way, I made a loaf every three days for the last month, since my starter was a week old on October 10th. It’s only my latest loaf that has at last achieved a larger aeration bubble throughout. The loaves til now tasted great, but were denser.
Sourdough Gluten Free Bread
Preparation: 40 hours
Cooking Time: 40 minutes
Ingredients:
- 2-3 cups sourdough starter
- 1 cup stoneground organic buckwheat flour
- 1 cup organic brown rice flour (good fibre)
- ½ cup organic chickpea flour (high in protein)
- ½ cup organic quinoa flour (high in protein)
- ½ cup ground organic flaxseed (good fibre and omega 3)
- 1 ½ tsp sea salt
- 2 tsp brewer’s yeast (nutritional yeast – high in B Vits) – this is optional
- 1 tbsp manuka (active) or raw honey (will help the dough develop and balance flavour)
- 1 tbsp plain, active yoghurt (also, will help the dough develop, good bacteria)
- ⅔ – 1 cup of water, juice, or almond milk, or a combination! (you will have to adjust the amount of liquid according to the consistency of your dough.
Gluten free sourdough is runnier than normal bread dough. It can’t be kneaded – and doesn’t really need to be kneaded, as there’s no gluten to develop.
I do rise it, then prove it though.
Method:
Using a wooden spoon, combine all your ingredients in a big bowl.
When it is a manageable consistency – homogenised, but workable, I take out my electric beaters with their dough hook fitting and I ‘beat’ for 5 minutes. The mixture turns a slightly paler colour.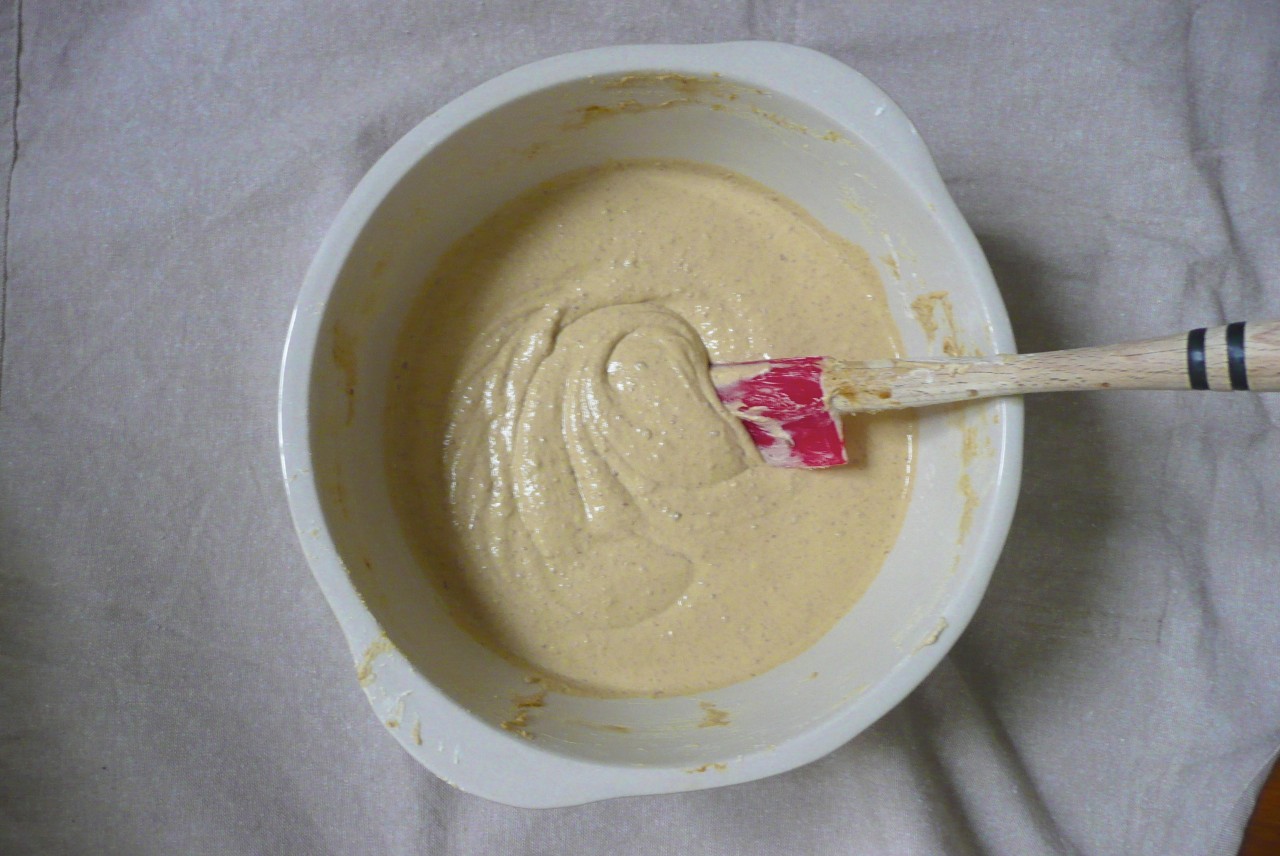
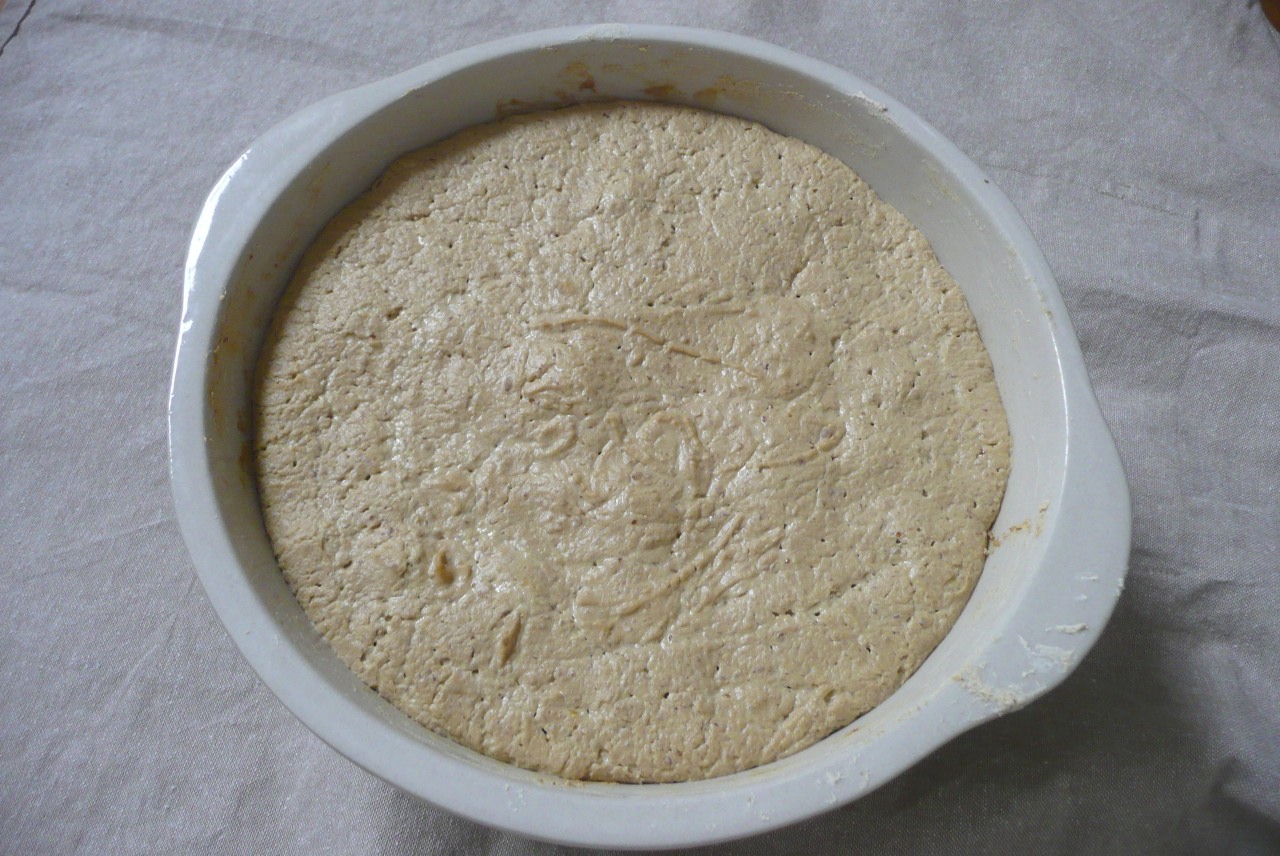
Then I wipe down the sides of the bowl, cover with a damp muslin cloth and leave for anywhere between 24 – 40 hours. Sometimes, the dough grows over the sides of the bowl, in which case, I pour half out into a second bowl and make two loaves.
Here you can see the just beaten mix, and then the same mix 24 hours later, risen almost to the top of the bowl. If I left this another ten hours, I’d be making two lighter loaves – that is to say, it would spill over the edges, so I would need to split the mix into two and bake two loaves. Because of the extra rising time, they would both be lighter.
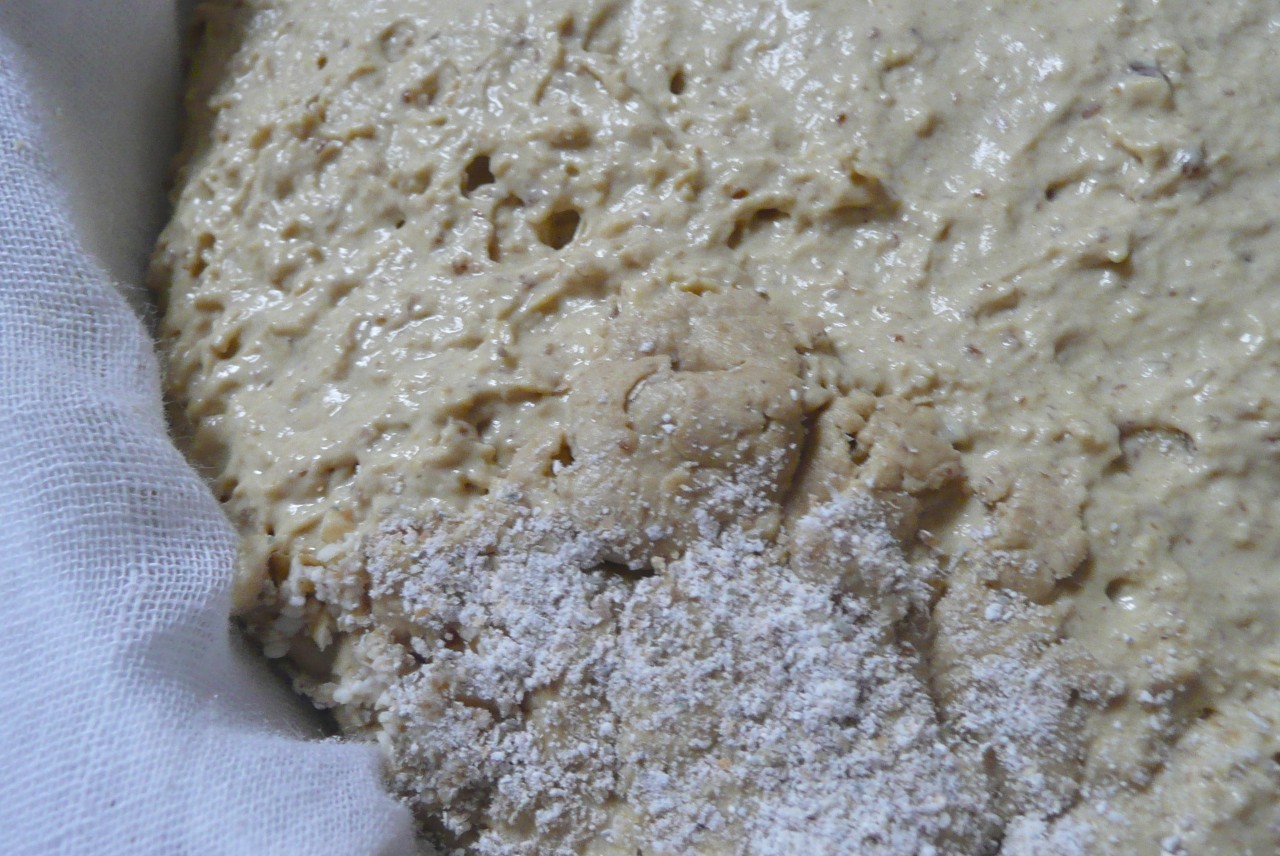
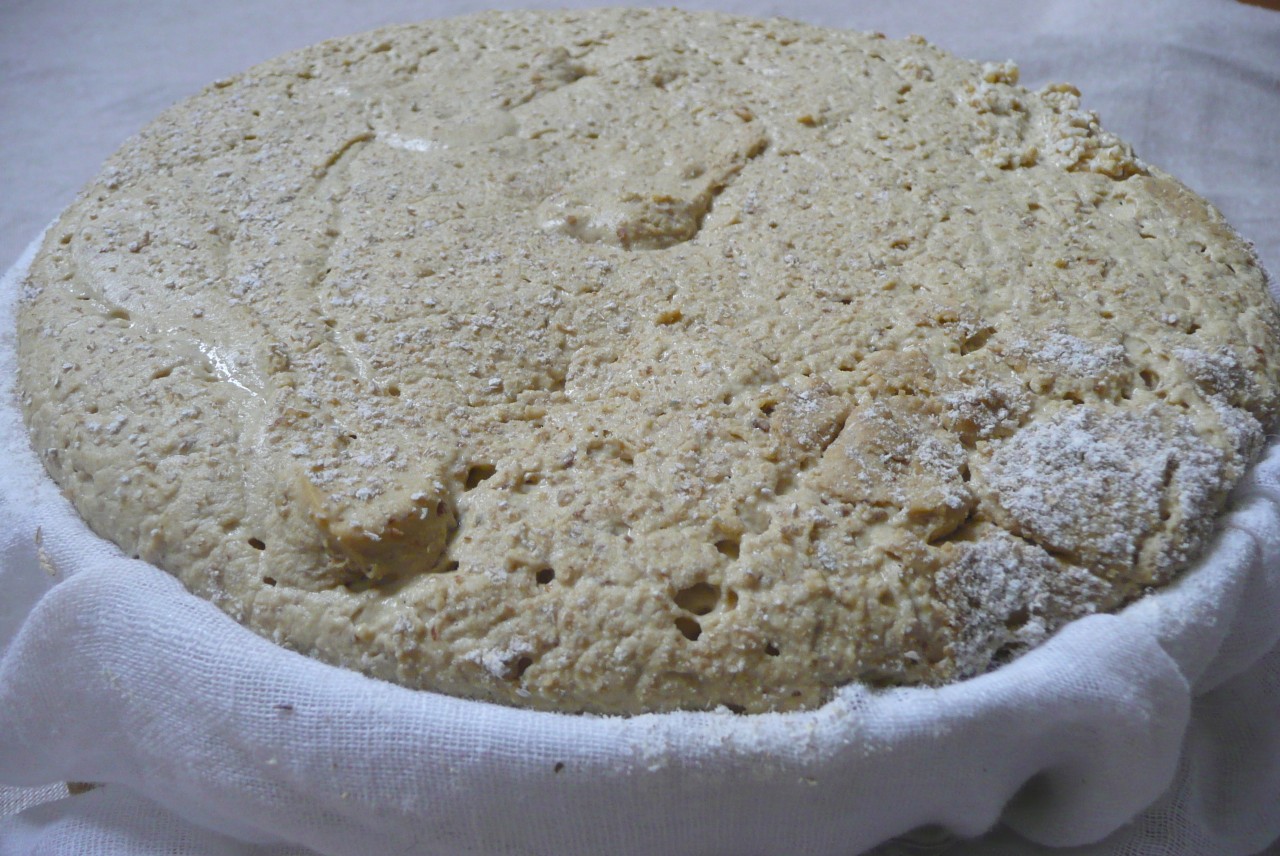
After 24 – 40 hours, depending on how much time I have and how soon I need a slice of bread, I flour a muslin cloth and line a baking-size basket or bowl.
I gently pour the bubbly mass into the muslin cloth, vaguely in a loafish shape, trying to roll it with the muslin. I then let it sit for at least two hours, or until the dough has ‘proven’, proven that it is active and has risen again.
Preheat the oven to 250°. Put a baking tray full of water at the bottom of your oven. Your oven needs to be steamy to get a good crust.
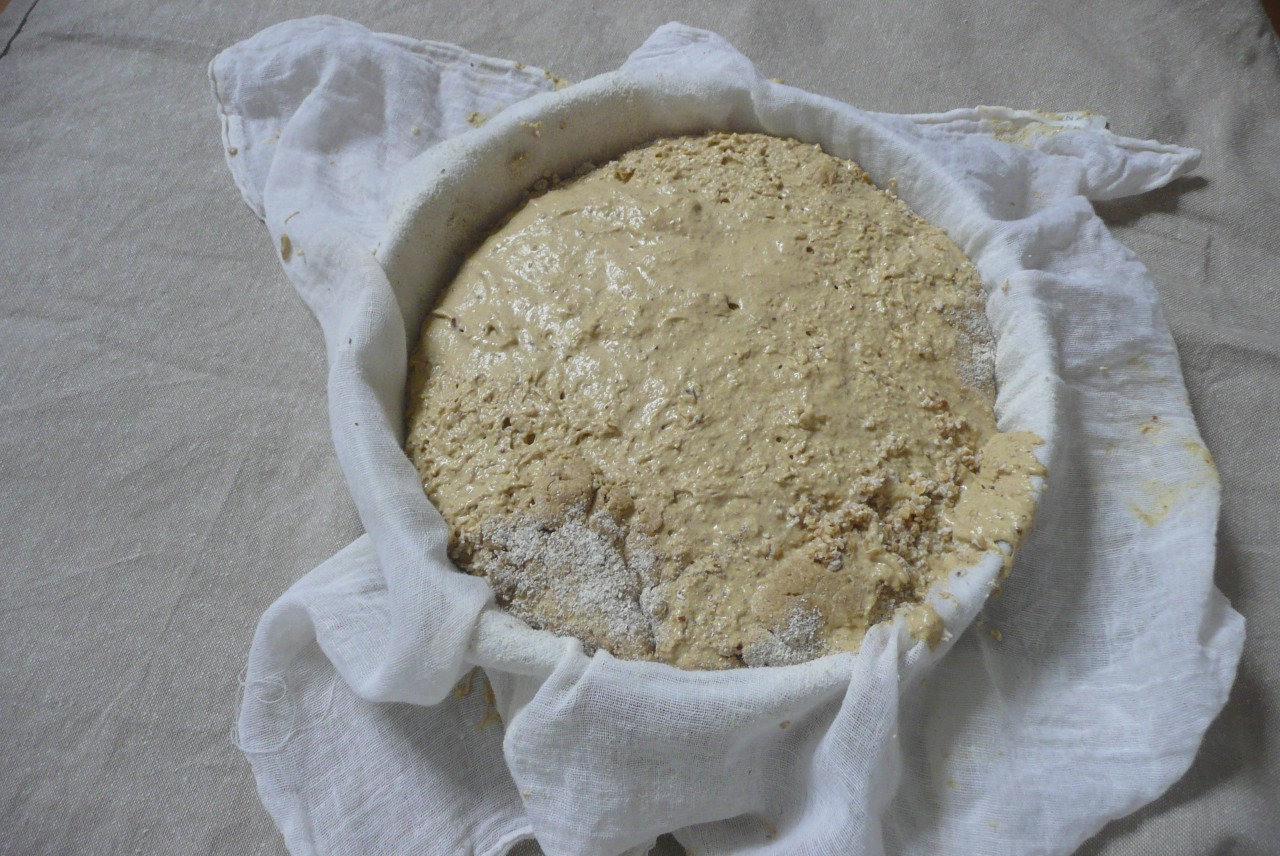
After this time, it should look something like this:

I roll it off the floured muslin cloth into a well greased and floured bread pan.
I want to test whether, with gluten free sourdough, I can skip this extra transfer step and simply prove it in the bread pan that I will bake it in. I’ll keep you posted on any updates.
My preference is to grease the bread pan generously with coconut oil, then sprinkle with almond meal.
There are probably better pans to use, heavier, hotter, better shapes, but this is the one I’ve got and it’s OK. It’s ceramic.
If I manage to roll it up nicely as I pour, I make two scores against the roll, to help the loaf rise. Here’s a picture of a loaf that I scored on a previous occasion – I hadn’t proven it as long, so the loaf was still dense, but you can see the scoring did give it space to rise. And it looked pretty.
I wish I had a stone for my oven. As I don’t, I place a heavy based flat metal baking tray in the oven to pre-heat, then I put my bread pan directly on top.

ready to cook (this loaf if messier than usual)
Bake for 7 minutes at 250°.
Turn down the oven to 200° and bake for a further 30-35mins.

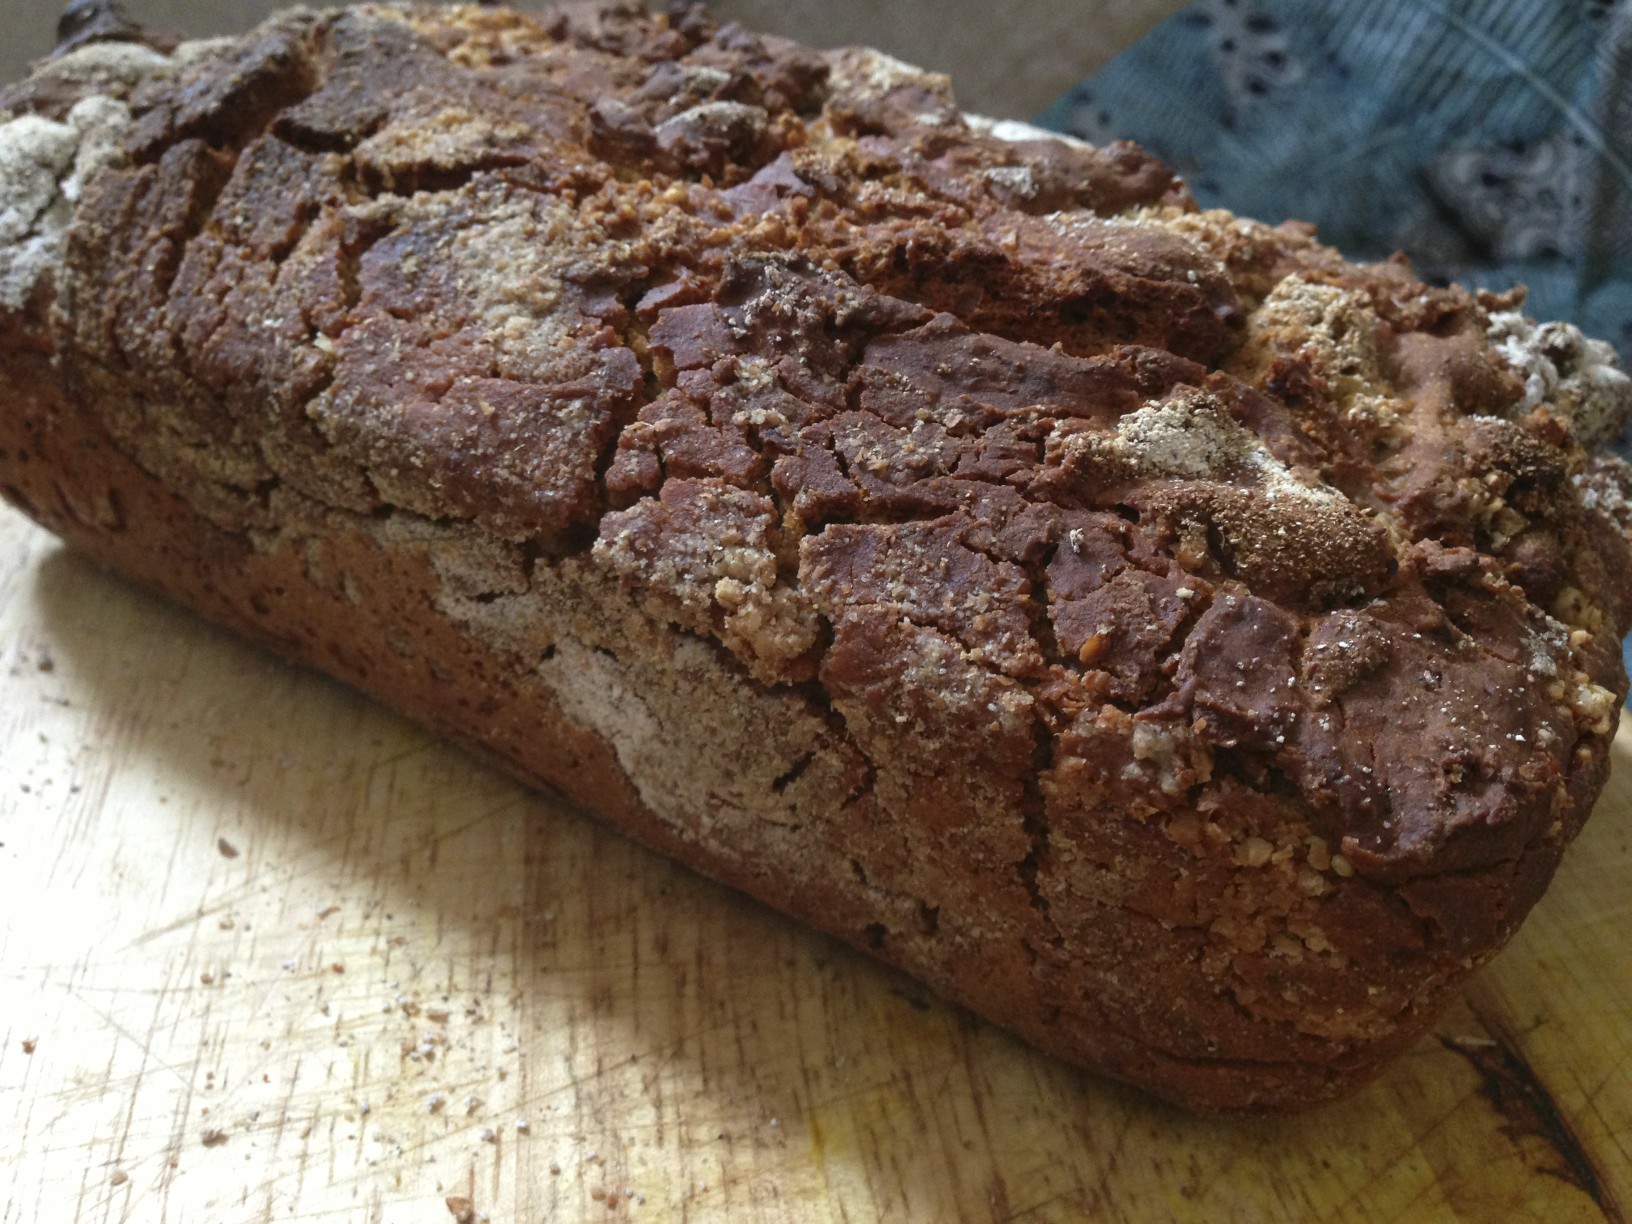
fresh out of the oven
Tap it. It should sound hollow. With this loaf, I think I could have given it a minute less in the first 250° blast – you can see the edge on one side is a bit dark.
You will also notice that it has risen a tiny bit more. But not a lot more, as a gluten-rich sourdough or a yeast loaf will.
So make sure you rise it as long as possible! And make sure you prove it for 2 hours if you can manage.
Take it out of the pan as soon as you can. I run a strong knife around the edges, then use a metal spatula to get under the loaf, to make sure it comes out in one piece.
 Life now goes back to some kind of joyous normality, with delicious bread for your breakfasts, lunches and to dip your soups!
Sign Up Here for Tricks, Treats and Secret Recipes.


